INSTANT
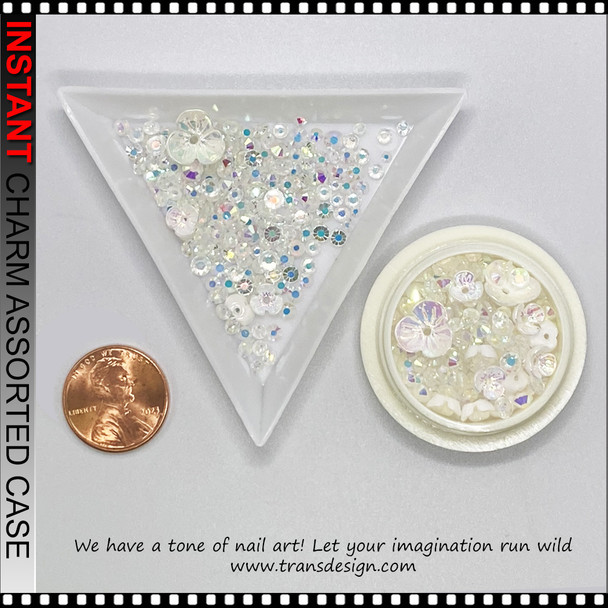
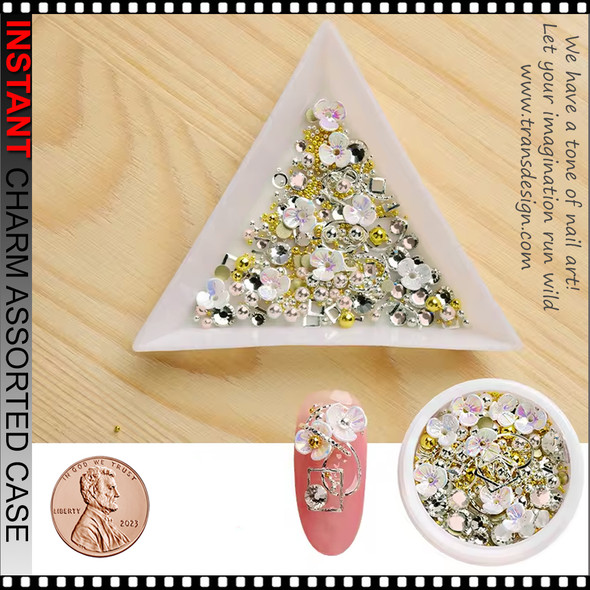
NAIL CHARM Assorted Aurora Flower, Butterfly, Crystal AB Jar #ZS442-4
- SKU:
- 8040
- Availability:
- Usually ships in 24 hours.
Frequently bought together:
Description
NAIL CHARM Assorted Aurora Flower, Butterfly, Crystal AB Jar #ZS442-4
The pack comes with multiple sizes and shapes of rhinestones that can meet your diverse needs.
SPECIFICATION
- Material: Alloy, Rhinestone
- Color: Light green
ABOUT THIS ITEM
- Rhinestones have been used as decorative pieces on nail designs for decades, and they add so much feminine flair to otherwise plain nails.
- It comes in different shapes to elevate your fingertips. So, if you want to go all out on your nails and bedazzle everyone with hyper-feminine claws, nails with rhinestones are the way to go.
- There are many ways to play around with rhinestones, and you can add them to any nail design you can think of. The best part is that rhinestones are pretty easy to apply.
- You can purchase them at www.transdesign.com at online selling platforms such as TDI show room where you can get them in bulk in any color your heart desires.
INSTRUCTION
APPLY YOUR RHINESTONE WITH GEL ADHESIVE
STEP 1: APPLY YOUR RHINESTONE GEL ADHESIVE
- Once you’re ready to apply your rhinestones, start by applying a layer of rhinestone adhesive to the area where your rhinestones will be placed. You don’t need to apply it to the entire nail. We recommend applying the adhesive one nail at a time and then curing once you’re happy with your placement. This will help ensure the rhinestones stay in place.
- Quick Tip: Some people like to use a thicker substance to apply rhinestones. This usually comes in a jar and has a consistency similar to hot glue or jelly. This can be more difficult to work with and may only be necessary if you’re working with really large, heavy gems. Plus, when you work with thicker adhesives, you may notice that lots of product tends to build up around the stones.
STEP 2: PLACE YOUR RHINESTONES
- Using your rhinestone applicator, pick up a stone with the wax end. Place the rhinestone on your nail, and if necessary, use the tip of your applicator to gently correct the stone’s positioning.
- Quick Tip: If you don’t have a rhinestone applicator or wax pencil, you can use tweezers to pick up the stones and a toothpick to position them.
STEP 3: CURE YOUR RHINESTONES.
- Once the rhinestones are applied, cure the nail under your LED lamp. If you’re working from home and don’t have a lamp, we recommend using a nail polish top coat to apply the rhinestones (but keep in mind, this won’t last as long as the gel adhesive will).
APPLYING GEMS WITH GLUE OR RESIN
- Nail glue is a strong adhesive that sets quickly, but it must be used carefully since it can corrode the top of some gems and damage stones’ silver backing over time. If gluing gems over regular nail polish, make sure the top coat is dry first.
- If using glue over gel polish, cure the nails, then lightly buff the shine from the design area prior to application for better adhesion. Choose a quick-set glue and use only what is necessary. Always apply glue to the nail (not the gem) and place the stone on the nail using a wax-tipped tool for maximum control.
- Additional glue can be placed at the base of each stone for more strength.
COLOR ACCURACY
- We have made every effort to make the colors on screen as accurate as possible.
- Unfortunately, we cannot guarantee an exact color match of the on screen color to the colors of the actual products and the color appearing on screen should not be relied on as being such.
- Colors on screen may vary depending on your screen settings and resolution.


