Frequently bought together:
Description
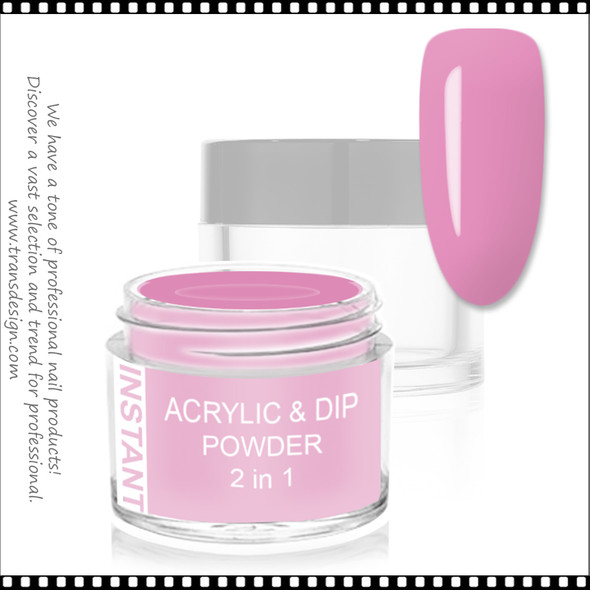
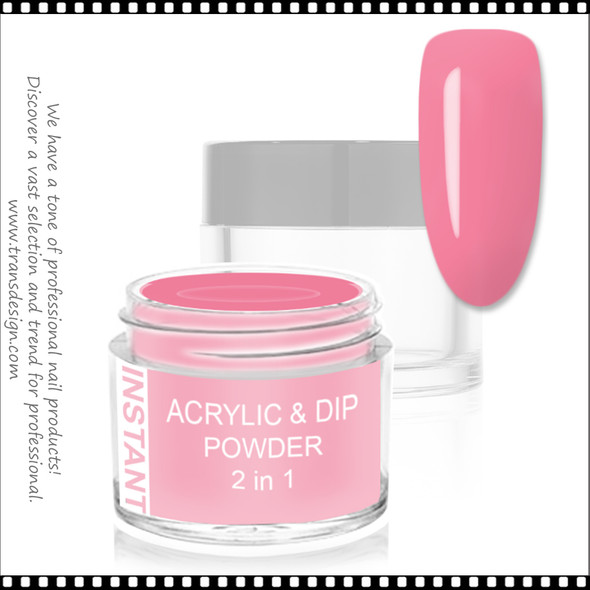
INSTANT ACRYLIC & DIP COLOR - Rosy Pink
Our 2-in-1 Acrylic & Dip Powder is perfect for laying acrylic and dipping nails. Our professional formula ensures superior adhesion, color stability, strength, and durability.
SPECIFICATION
- Color: pink
- Shade: Cream
- Net Weight: 1.5oz. | 45 grams
ABOUT THIS PRODUCT
- Can use with any Acrylic and Dip system
- Non-yellowing, lift-resistant, and contains no MMA
- Easily adaptable to any experience level
- Developed to self-level for a flawless finish
- Bubble-free and even-toned look
- Shows true color
- Made in USA
DIP POWDER
- Prep by pushing back the cuticles to remove any dead tissues on the nail. Use a hand file to remove the shine from the natural nail and to create your desired shape.
- Apply TDI Prep Bond#1 to the entire natural nail. Applying Bond is an essential step as it will dehydrate the nail and remove any excess oils that could cause lifting.
- Apply TDI Dip Base#2 to the entire surface of the individual nail one at a time to prevent the base from drying up. Make sure that you are applying a thin, even layer so that the application is nice and smooth. Be sure to dip the nail into the powder at a 45-degree angle and then brush off the excess powder after every dip.
- Next, select the Dip Powder color you would like to use! Use your Base a second time and apply it to the nail, just a hairline away from the cuticle. PRO TIP: Have your Dip Powder ready to go because the Base dries quickly. Dip the nail into the color powder at a 45-degree angle once again. You might find it easier to shake the powder from side to side slightly to allow the powder to fall onto the nail instead of pushing the nail into the powder. Dust off again with your brush!
- Pick up your Base once again and apply it to the ENTIRE nail, and dip once more into your color and dust off excess powder.
- Now you can proceed to your clear layer! Apply your Base to the entire nail once again, grab your Instant Crystal Gel Powder, and gently pour it over the nail and dust off excess powder.
- Once the clear powder has been applied, it is time to apply the TDI Sealer#3. Without Sealer, the nail will never dry properly. PRO TIP: If you hear a little click sound when you tap on your nail, you’ll know the nail is dry and you can move onto the next step!
- File, shape, & buff the nail!
- Go ahead and grab your #3 Sealer once more and apply a second layer onto the nail. It is extremely important to rub this into the nail with a lint-free wipe and remove any excess sealer during this step. The second layer is important for 2 reasons: 1) This second layer of Sealer will add shine when the Top Coat is applied to the finished manicure and 2) the interaction between Seal Protect and the Dip Top Coat could cause your Top Coat brush to harden and become unusable!
- Finally, apply your TDI Dip Top Coat#4 in quick, thin strokes and allow to dry! Apply a second layer of Top Coat and allow two minutes to dry.
- Last off, take the Amour Cuticle Oil and apply it to the cuticles and massage it in!
ACRYLIC POWDER
- Prepping the Nail: Start with clean hands. Push back the cuticles, buff and file the nails. Apply a Nail Tip (Optional). Apply dehydrator & primer on the nails.
- Pour your Instant Liquid Monomer into your dappen dish.
- Dip the acrylic brush into the dappen dish and push the brush tip to the bottom of the dish to get the air bubbles out.
- Swipe the brush on the edge of the dappen dish once to get the excess liquid off.
- Dip the brush tip into the acrylic powder and stroke the brush through the powder towards you until you create a ‘ball’ of acrylic on your brush.
- Press the brush (with acrylic powder ball on) to a lint-free pad to drain the excess liquid off.
- Apply the ball of acrylic to the top of the nail (near the cuticle) and bring the bead down to the very tip. Tilt the nail down as you are doing this as it will prevent the acrylic from flooding the cuticles.
- Sculpt the acrylic by pressing the brush flat to your nail and gently moving the acrylic to smooth out bumps and to spread it out evenly (remember to keep your brush clean by dipping it into the acrylic liquid while doing this).
- If you need more acrylic to cover the entire nail, repeat steps 2-7 until you’re happy with the coverage of the nail.
- Wait 2-3 minutes for the acrylic to dry completely.
- File the entire nail until it is smooth on the top and around the edges, and to also make the shape more defined.
- Dust off your nails and wipe down with alcohol. Lastly, you’ll need to add a top coat to seal in the acrylic
COLOR ACCURACY
- We have made every effort to make the colors on screen as accurate as possible. Unfortunately, we cannot guarantee an exact color match of the screen color to the colors of the actual products and the color appearing on screen should not be relied on as being such.
- Colors on screen may vary depending on your screen settings and resolution.


